The Northeast kingdom railroad


Modeling Lamoille Valley RS3 #7804
Modeling the Lamoille Valley RS3s in HO is fairly easy with the availability of the fine Atlas model and decals from Highball Graphics. Some additional details can be added to make the model more faithful to the prototype.
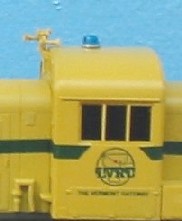
At startup in 1978, the Lamoille Valley leased 4 RS3s. The ex-D&H units were refurbished and repainted in the D&H Colonie shops and numbered 7801 through 7804. (A fifth unit, 7805, was added later.) Originally the units were painted yellow with a black frame and walkways. A new herald was designed and applied to the cab sides. Green stripes were added to the ends with Lamoille Valley spelled out in green lettering using the Odin typeface. The units were also named for the Vermont towns they operated through:
-
• 7801 - Morrisville
-
• 7802 - St. Johnsbury
-
• 7803 - Johnson
-
• 7804 - Hardwick
The names were applied to the cab sides below the heralds. Later a green side stripe was also added, connecting the top end stripes at the level of the side lettering. Another variation came later when the tops of the hoods were painted green. Plows were added to the long hood ends of some units and were painted a red-orange color. A rebuilding process in the 1980s saw the short hoods chopped to make a low nose (a look I do not personally like).
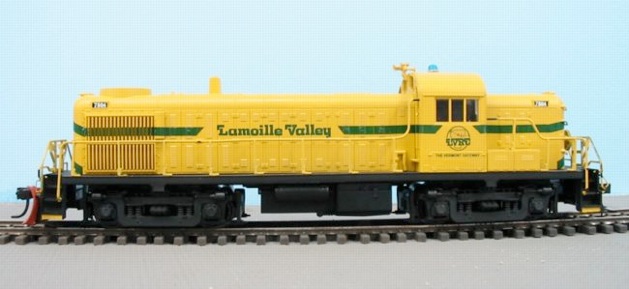
The Lamoille Valley started operations in 1978 with 4 ex-Delaware & Hudson Alco RS3 locomotives. The first model I have built is of #7804 as it appeared in 1979.

Web page written and maintained by Mike McNamara
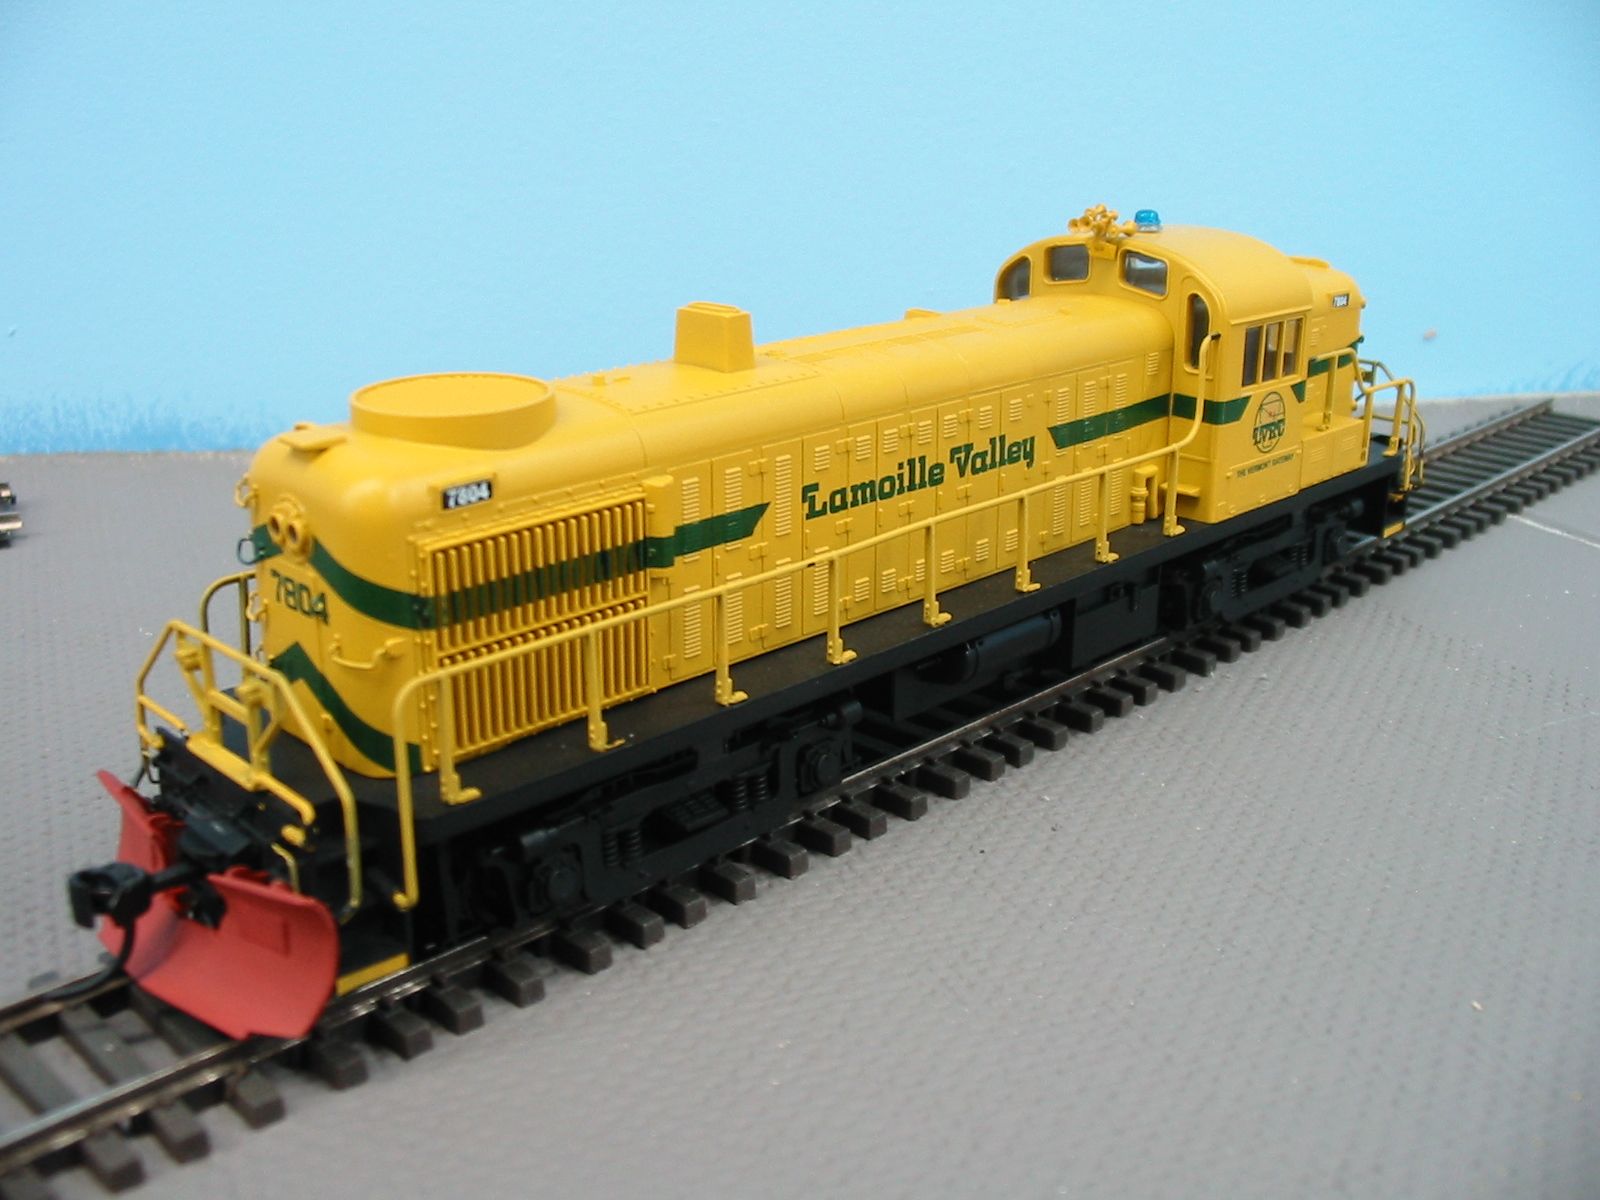
My HO version of the Lamoille Valley RS3 #7804 as it appeared in photos from 1979. It has the side stripes and plow, but the top is not painted green. This is before applying weathering. (Click on image for larger view)
I started with an HO undecorated Atlas Classic RS3. At the time I only bought one undec unit and worried about not getting more so I could model all four units. Luckily Atlas has since done more releases and improved some things like the handrails. Also, if you cannot find undec units, you canalways order shells from the Atlas web site and put them onto any RS3 you can find out there.
I disassembled the locomotive and started work on the frame. A Details Associates coupler lift bar was added to each end. Then I painted the frame/walkway, the fuel tank and each set of truck sideframes with Polly Scale Steam Engine Black. This paint has a nice finish with a slightly glossy look. I drilled holes for a Details West PL-233 plow. The plow has opening for MU cables. The LVRC plows did not have these, so applied small squares of .005" styrene to cover the openings. I painted the plow with Polly Scale Zinc Chromate Primer which seems to be a good color match.
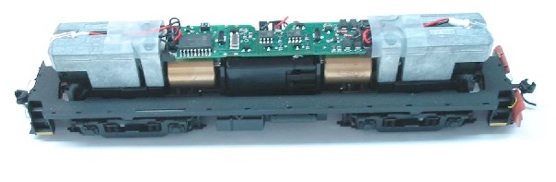
I installed an NCE drop-in DCC decoder, DA-SR, using the plastic tabs from the original Atlas PC board to secure the wires. The Atlas bulbs work fine and do not need replacement. I brush painted the wheels grimy black. I reattached the fuel tank and sideframes. Next I put the frame/walkway back on the underframe. I installed a Kadee #58 knuckle coupler on the short hood. On the long hood, the coupler trip pin hits the plow. I could have cut the pin off, but I elected to use a Kadee #36 coupler which has a longer shank and extends the coupler past the plow so I will be able to still perform remote uncoupling [Note: I have since replaced the #36 with a scale size #156 coupler].
The hood and cab were painted Polly Scale CSX Yellow [Note: I have started using CNW Yellow on other models as I think it is a better match]. It takes a few coats to cover well even on the gray plastic. After drying, I sprayed the hood with gloss and let it dry for a few days.
Decaling took place next. I used Highball Graphics set L-117. This set is available by mail for $6.00 plus s&h and will do 2 locomotives. The decal stock is a little thick and you have to be careful not to scratch the surface or the color will come off. It took a few evenings and multiple applications of Microscale setting solution. But they do work and look very good. The only thing missing is the names applied to the sides of the cabs. For the numberboards, I applied a black decal stripe cut to size, then placed the white numbers over it.
I then added the end grab irons and painted them yellow, but the ones over the green stripes get painted green. I added an Overland Models #9009 brass 5 chime airhorn applied to a triangular block of styrene mounted to the center of the cab end. It would have made more sense to do this before painting, but glueing with CA and then brush painting the assembly worked well. I also painted the brakewheel yellow and applied that. The bottom front section of each stepway was also painted yellow to match the prototype photos.
A visual standout detail feature of these units would have to be the blue safety beacon atop the cab hood. It shows up in prototype photos, although I don't have a good clean shot of it. I tried to figure out the best way to model these, then, looking through the detail parts in a local hobby shop, I came across Precision Scale part #39139, a set of three clear rotary beacons! These are relatively close in appearance. I painted the base silver and mounted it in the center of the cab roof. For the clear lens I used Tamiya Clear Gloss Blue paint. This stuff is really neat and works great at modeling colored glass. The clear green is great for insulators on telephone poles. I glued the now blue lens atop the silver base. The prototype appears to have a few straps of metal to protect the beacon, but I chose not to model these without having a good picture. On another unit, I'd like to try and light the beacon, drilling out the base.
The hood section inside the cab was brush painted black to minimize the fact that the cab is not open. The inside of the cab walls were painted light green (PC/NYC Jade Green). Most of the units operating in prototype photographs show white flags on the front (long hood) end, so I will include this feature as well.
With that, my locomotive was reassembled and ready for some weathering to depict about 2 years of pulling trains through Vermont’s Northeast Kingdom!
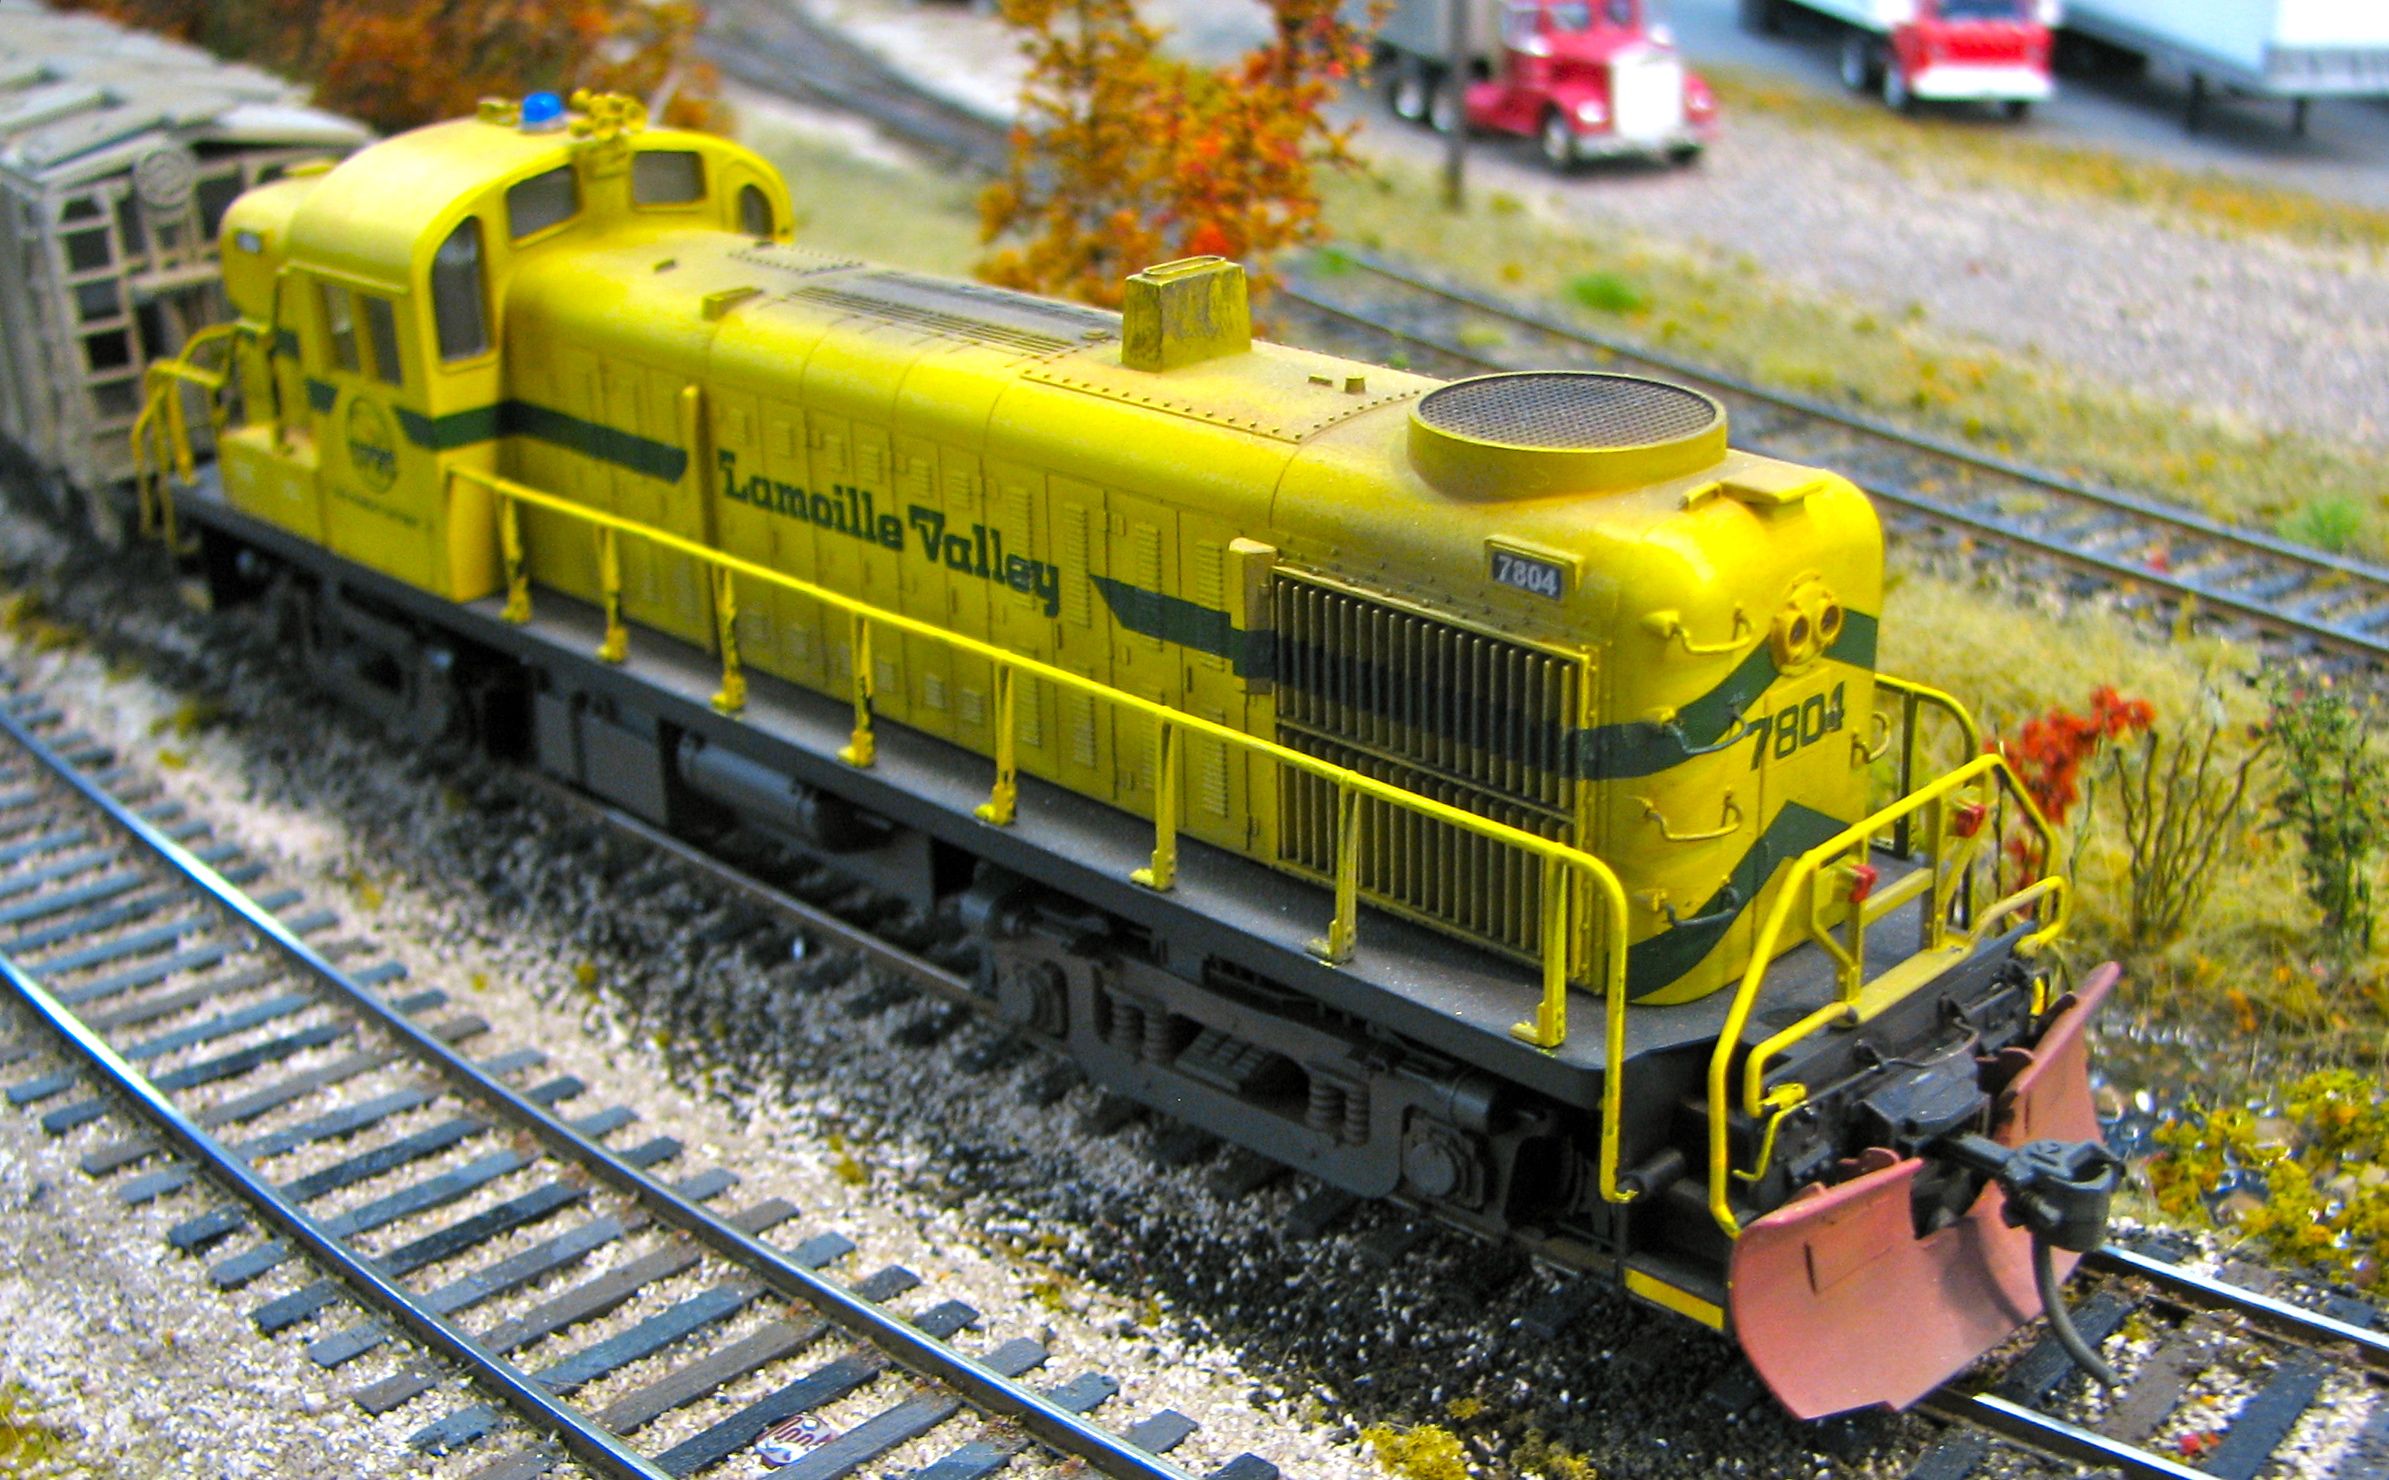
Shown here now with weathering via airbrush and powdered chalk. I have also completed models for 7801, 7802, 7803 and 7805. This should give me enough for the operating session.
Last Update: July 23, 2010
>> Back To Locomotives main page
>> Back To Lamoille Valley main page
I have custom painted a number of LVRC RS3s for customers, with various differences in details and road numbers as requested.
If you are interested in getting a custom LVRC RS3, let me know.
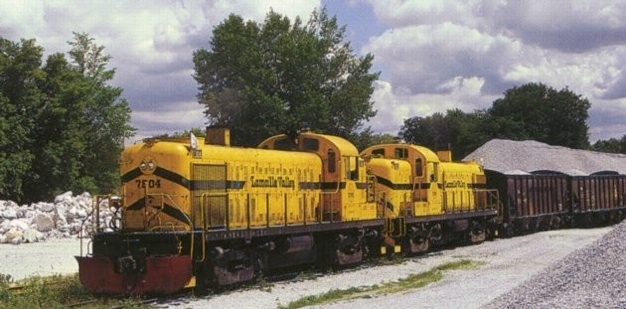
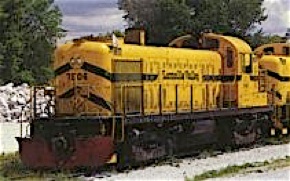
The prototype 7804 leads a ballast train out of the quarry in Swanton, VT in 1979. Photo by Jeremy Plant.
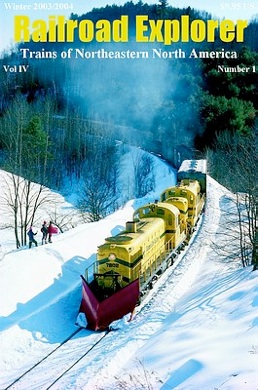
A great source for LVRC photos and other New England railroads is Railroad Explorer magazine.