The Northeast kingdom railroad


MER Trip to the Homasote Plant
Did you pick up one of the MER’s limited run of CNJ 40’ PS-1 Boxcars? If so, you know this is a good looking model with a nicely done paint job. But, what if you model the 1970s to early 1980s, like me, and would like to place this mid-1950s car in service on your layout?
Mar/Apr 2003
MER Local
This is an article I wrote for the MER Local. It details upgrading the MER's limited run CNJ 40' PS-1 Boxcar produced by Accurail. This article was published in the March/April 2003 issue of the Local.
Putting the shell back on the underframe, I had one last detail item to add. On all of my cars, I like to install Detail Associate #6215 coupler lift bars. To mount these, I had to glue a small block of styrene to each end under the ladder in order to mount the shortened eye bolt in a #78 hole. I then thread the bar through the eye bolt and glue the end under the coupler pocket. I painted the bar and the styrene block a mixture of boxcar red and rail tie brown. I was now ready to place the car in service on my layout, an old warrior still hanging on in the age of 50’ Plate C boxcars.
Even if you don’t want a heavily weathered vintage 1982 car like mine, I hope you will still consider some of the upgrades, such as the roofwalk and brakewheel and perhaps some weathering. These techniques also apply to other cars as well. A few simple upgrades like this will really set this car apart from the normal plastic model kit.
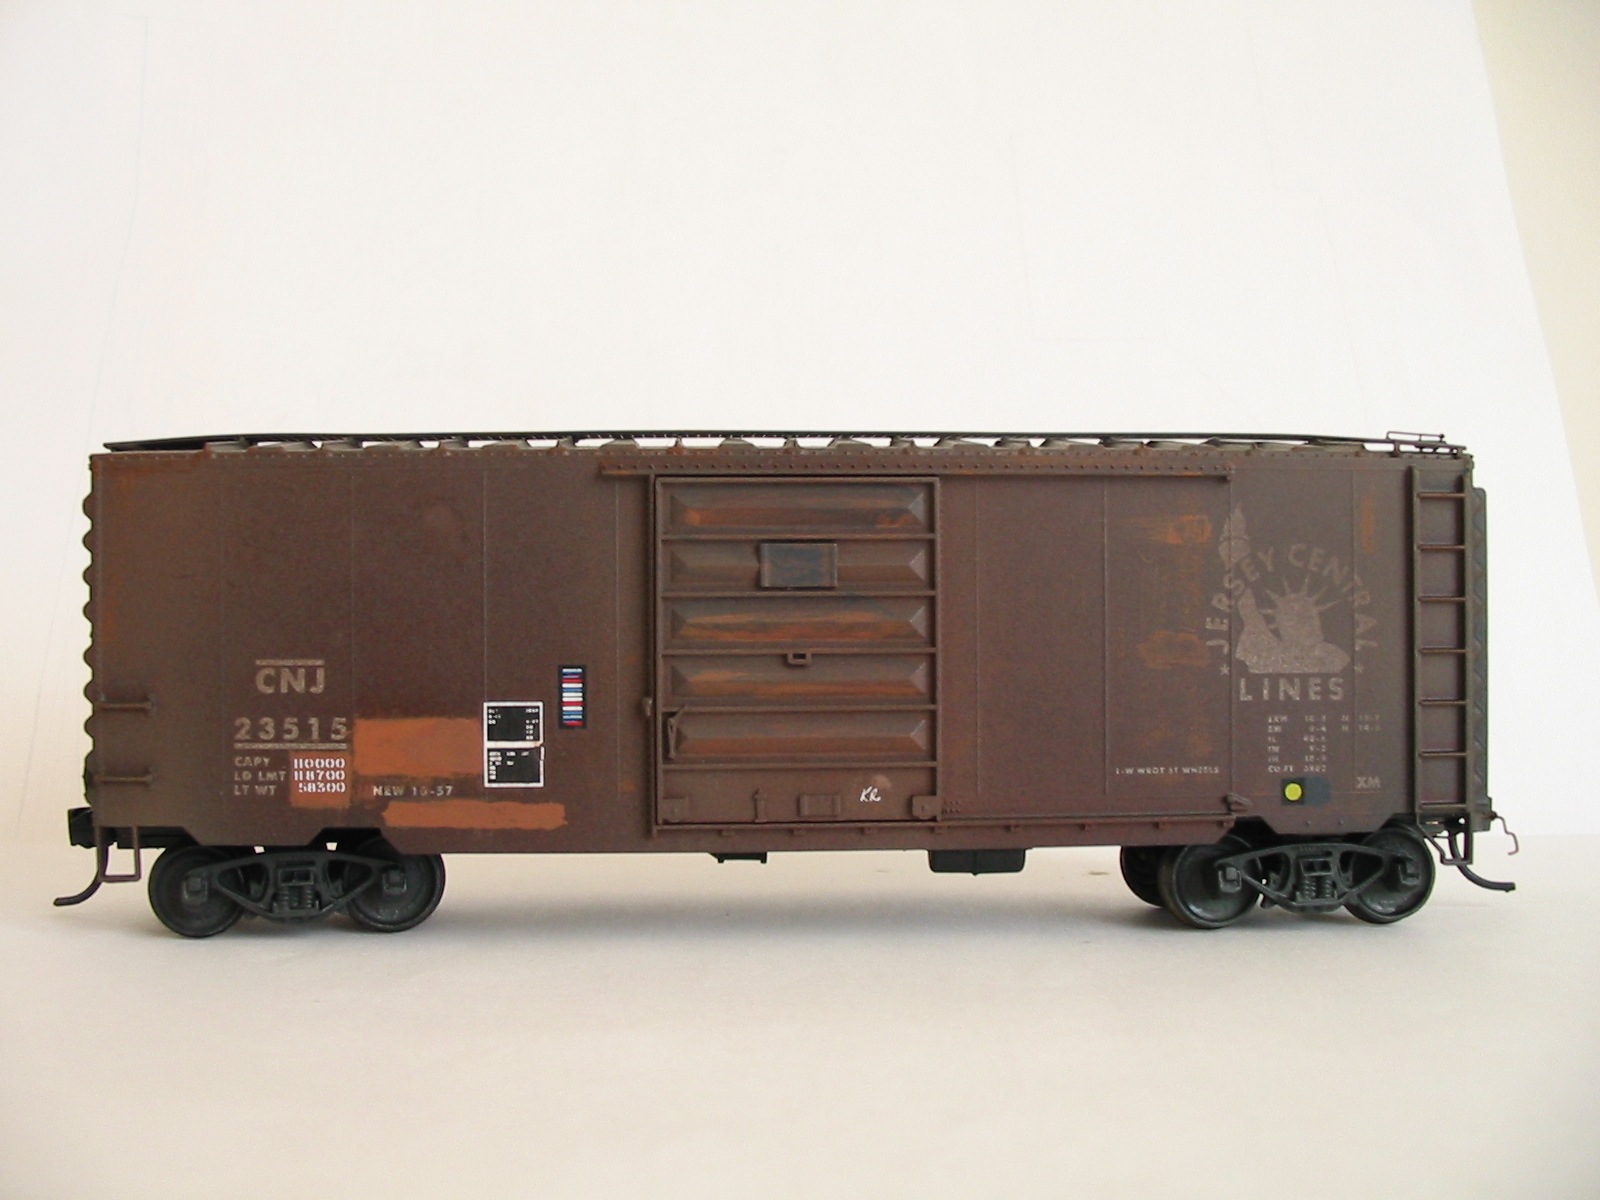
Recently, I came across a photo of a Jersey Central PS-1 boxcar in the November/December 1986 issue Model Railroading magazine. Now, I wasn’t specifically looking for this picture. I just happened to see it while looking through some older magazines. The picture, in color no less, shows car number 23502 in October of 1982. With this photo, I now had the means of modifying my model and placing it in service on my layout knowing that it had at least one prototype in service as late as 1982. I’ll describe my modifications and you can choose to do some or all of them as you wish.
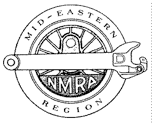
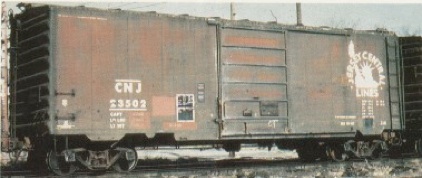
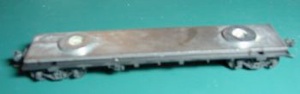
My HO version of the CNJ 40' PS-1 boxcar, circa 1982, with new roofwalk and brakewheel, weathering, paintouts and additional decals. Click on photo for larger view.
The prototype 40' PS-1 which inspired my modifications to the base model. Photo by Wayne Sittner.
The first most noticeable change is that the ends of the car should be black. I don’t know if this was true for all cars in this number series, but I decided to paint mine. I masked off the sides and roof with masking tape and sprayed the ends black. When dry, I applied decals for the reporting marks to the ends to replace those painted over. I used some leftovers from other sets to get all of the lettering and numbering for “CNJ 23515”. I also installed a Kadee #2042 black brakewheel, which has finer detail than the part in the kit.
Underframe work consists of adding 2 washers for additional weight plus installing KD couplers and wheelsets and Detail Associates coupler lift bars.

The caption with the photo gives some prototype history on these cars. Numbered 23502-23549, these cars were built in October of 1957. I don’t know if this was a typo with the number series starting at 23502 instead of a more usual 23500. Maybe there were 2 other cars from a different, earlier order. [according to MER Local editor, Alan Mende, these were numbered starting at 23500] In any event, this doesn’t matter with the MER cars as they are numbered 23506 and 23515.
With this complete, I turned to the roof. Because I model an era when most roofwalks are gone, I like to upgrade the roofwalks on the few cars that still have them. Carefully pry up the Accurail roofwalk. Slice off the the 2 center mounting pins and reinstall them in their holes, flush with the roof, applying a small amount of glue from the inside of the car. Leave the 2 end holes open for now. Also trim off the molded on roofwalk supports at the end of each car. Install a Kadee #2001 40’ roofwalk. These are great items and you get two in a package for half the cost of an etched metal running board. Plus it is already painted boxcar red! You’ll need to trim off all of the mounting pins except the ones at each end. They will fit into the existing holes. You’ll also need to trim a little bit off of the angled supports at each end of the roofwalk to get a good fit. Install the roofwalk, using very small amounts of CA to attach it. I then had some fun weathering the roof by drybrushing various PollyScale paints, including silver, boxcar red, grimy black and railroad tie brown.
For the car sides, I installed the 5 panel doors. Neither door included in the kit seems to match the prototype picture exactly, but the panel door looks closest to the door in the photo. Door variations may have existed of course. I then weathered the car using light sprays of rust, dust, earth and grimy black. Spray all areas, including the roof to help blend in the drybrushing. I also used a mixture of PollyScale boxcar red and rust to highlight some weathering as shown in the prototype photo. This included the panels on the door and small areas on the sides. I used very small amounts of paint on the brush to slowly build up the color effect.
With that complete, I turned my attention to the painted squares on the sides. These squares generally represent a later paint over of changed data from a servicing or rebuilding. I brush painted these areas with a mixture of PollyScale boxcar red and rust using the photo as a guide for the color and placement. There is also a black area next to the wheel dot on the right side of the car that I painted grimy black.
When the paint dried, I added some decals for the painted over data and some other missing elements. I added the white car data and the wheel inspection dots from Microscale set 87-193. The consolidated lube stencils are from set MC-4126, while the ACI plates are from set MC-4280. Finally, I added some chalk marks to the door from leftovers in set 87-81. These decals really bring the car into my time period. After the decals dried, I washed the car gently and sprayed on a flat finish of Dullcote.
For the underframe work, I installed Kadee #5 couplers and KD 33” wheel sets. I painted these items with a mix of rail tie brown and black. I added .2 ounces of extra weight to the car by using two ¾” washers, one over each truck, glued atop the kit’s weight. I have found that Liquid Nails in the small tube with a twist-off cap is real handy for this type of bonding. This brings the car up to 3.8 ounces, closer to the NMRA recommended 3.75 oz.
Web page written and maintained by Mike McNamara
>> Back To Articles main page
